DIY Instrument Crafts That Teach Kids Basic Physics & Sound
Ever notice how a toddler bangs on pots and pans with the intensity of a rock star? That instinct to make noise is actually a science experiment waiting to happen. With a few household items and about 20 minutes, you can turn that racket into real learning — the kind where kids start asking why a rubber band makes a low hum when it's loose but a high twang when it's stretched tight. That's physics, folks. Let's build some homemade instruments and sneak in a little sound science along the way.
Why Music Is Secretly a Physics Lab
Every instrument, from a kazoo to a grand piano, works because of vibration. When something vibrates fast, it creates a high-pitched sound. Vibrate slowly, and you get a low, rumbly one. Bigger objects and looser materials tend to vibrate slower; smaller, tighter ones vibrate faster. That's really it — that's the whole secret behind pitch. Once kids grasp this one idea, every DIY instrument becomes a tool for testing it out, which is exactly what makes STEM music activities so powerful. Kids aren't memorizing a fact; they're feeling it in their fingertips.
4 Homemade Instruments That Double as Science Experiments
1. The Rubber Band Guitar (Tension & Pitch)
Stretch a few rubber bands of different thicknesses over an empty tissue box or shoebox with the lid off. Pluck each one. Ask your child: which band sounds highest? Now tighten one band further — what happens? This simple homemade instruments craft teaches tension and pitch in the most tactile way possible: their own fingers are the science tool.
2. The Straw Oboe (Length & Frequency)
Flatten one end of a drinking straw and snip it into a small triangle to make a reed. Blow through it — with a little practice, it buzzes like a kazoo. Now snip the straw shorter and blow again. Shorter straw, higher pitch. This is the same principle behind flutes, organ pipes, and even human vocal cords — shorter vibrating columns of air move faster and produce higher sounds.
3. The Water Xylophone (Volume, Mass & Vibration)
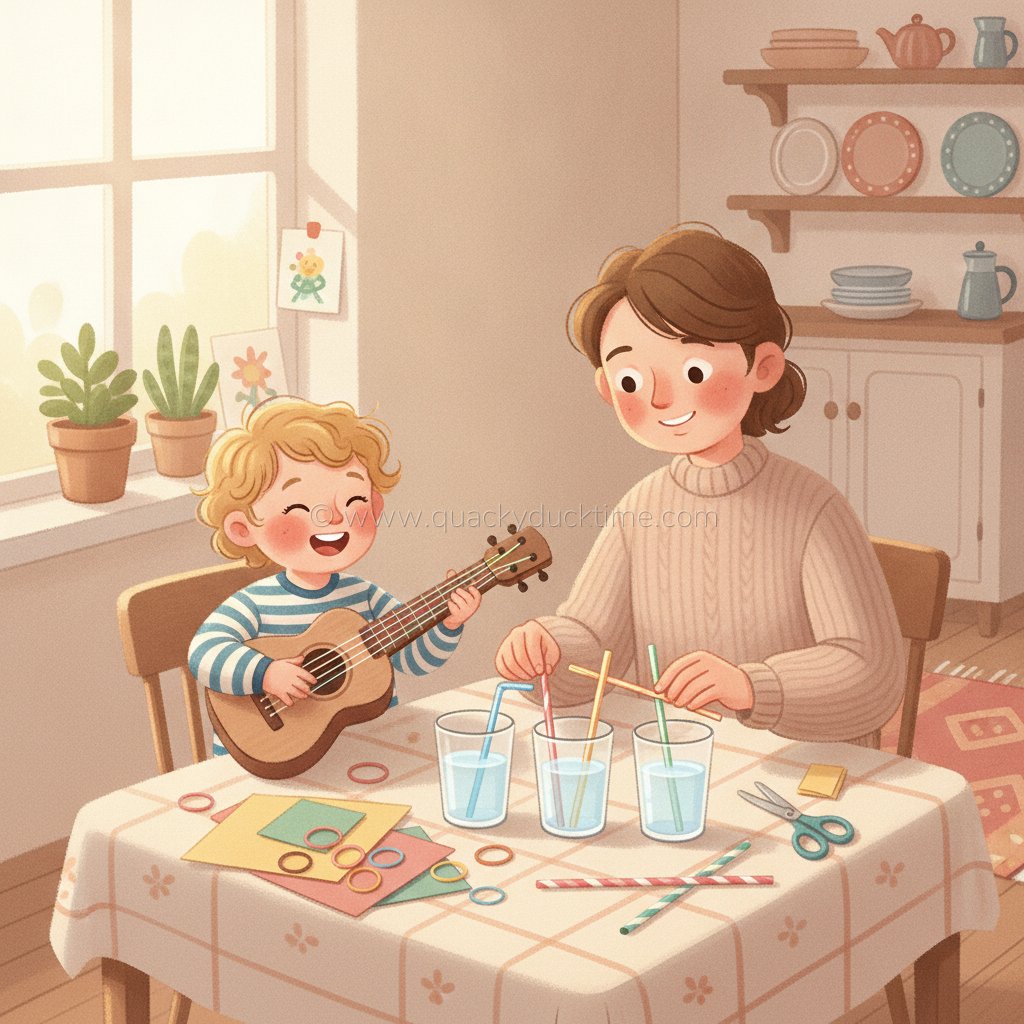
Line up glasses and fill them with different amounts of water, then tap each one gently with a spoon. More water means a lower note; less water means a higher one. For extra fun, blow across the top of the glasses instead of tapping — the pitch pattern flips! This contrast is a fantastic sound science experiment because it shows kids that vibrating water versus vibrating air behave in opposite ways.
4. The Balloon Drum (Sound Waves You Can See)
Stretch a balloon tightly over the open top of a bowl or coffee can and secure it with a rubber band. Sprinkle a few grains of rice or salt on top, then tap the balloon or make a loud sound nearby. Watch the grains jump and dance. This is one of the best DIY instruments for kids because it makes invisible sound waves visible — literally showing how vibrations travel through the air and cause objects to move.
Turning Crafting Into Real Science Experiments
The magic happens after the glue dries. Instead of just playing the instruments, turn playtime into a mini investigation:
- Predict before testing: Ask "Do you think the short straw will sound higher or lower?" before blowing it.
- Compare and sort: Line up all four instruments from lowest to highest pitch.
- Change one thing at a time: Add more water, tighten a band, cut the straw shorter — and notice what changes and what stays the same.
- Talk about vibration: Have your child place a hand gently on their throat while humming, then compare it to touching the balloon drum. Same idea, different material.
This simple predict-test-observe loop is the backbone of real scientific thinking, and it works just as well with a shoebox guitar as it does with a lab kit.
Tips for Making Craft Time Smooth (and Mess-Manageable)
- Prep loose parts ahead of time — pre-cut straws and rubber bands so little hands can jump straight to building.
- Keep water experiments on a tray to catch spills before they hit the floor.
- Let mistakes happen — a rubber band that snaps or a straw that won't buzz is still useful data, not a failure.
- Revisit the instruments over a few days — kids often notice new things on the second or third play session.
Small Instruments, Big Ideas
You don't need a science degree or a fancy kit to teach kids about vibration, pitch, and sound waves — just cardboard, rubber bands, straws, and a curious kid willing to make some noise. These DIY instruments for kids turn ordinary recycling-bin materials into genuine physics lessons, one twang and toot at a time.
Looking for a soundtrack to your next craft session? Head over to Quacky Duck Time for playful, sing-along songs that pair perfectly with homemade instruments — because science is always more fun with a little music behind it.